The key things to check before you start tiling a wall or floor
03.2022
Learn the key things to check before you start tiling a wall or floor and empower you projects
When it comes to tiling, preparation is everything and saves not just embarrassment but also time, money and reputation. We’ve put together a quick checklist of the key things to check before you start cutting and gluing.
Casing the joint
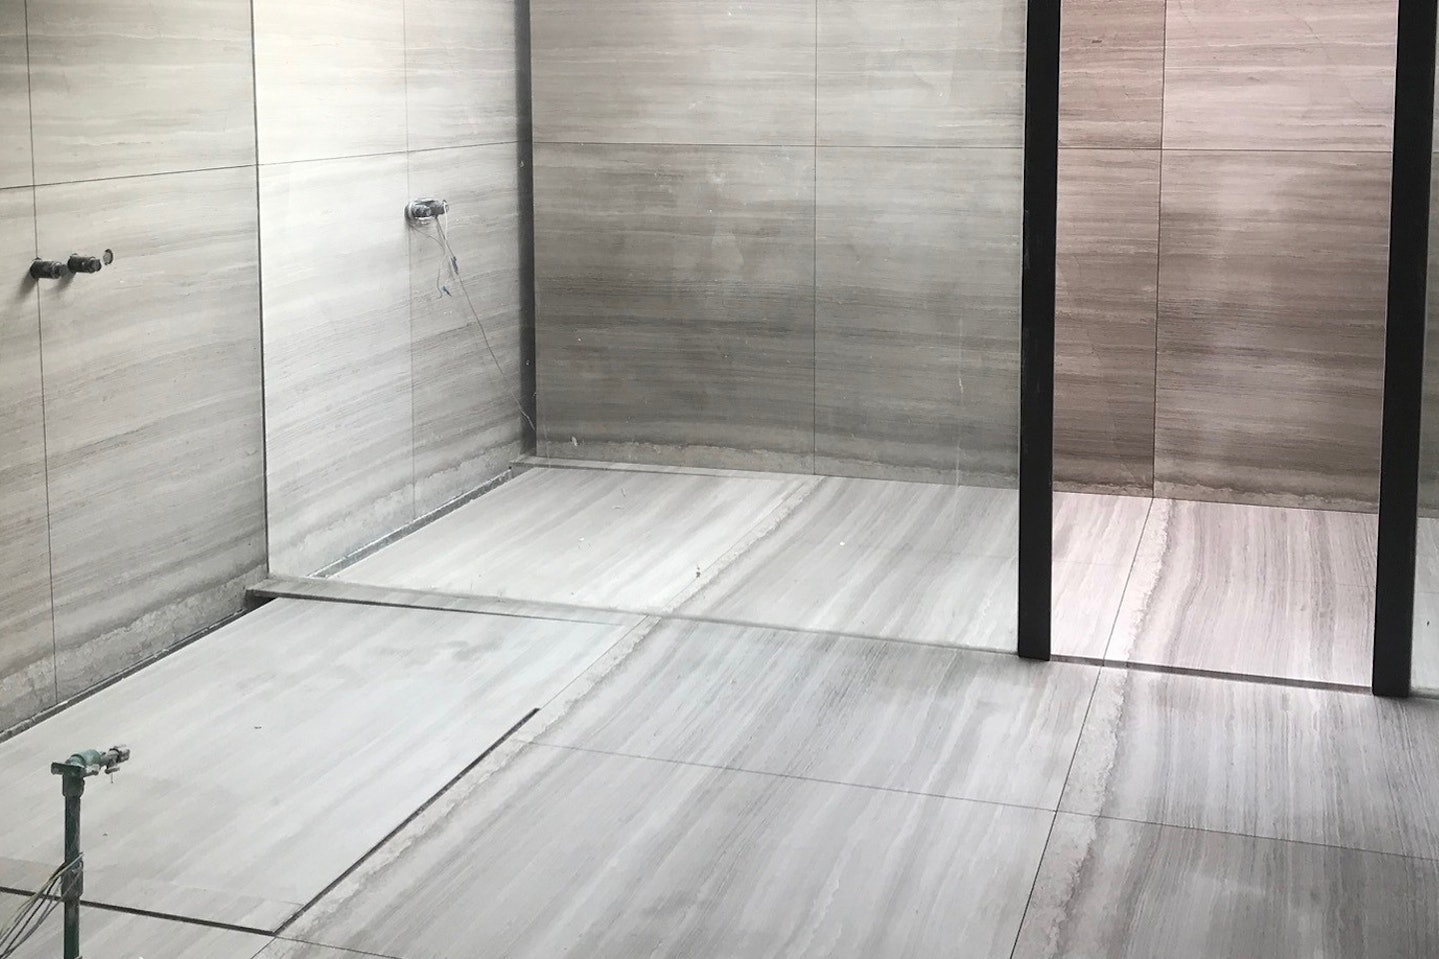
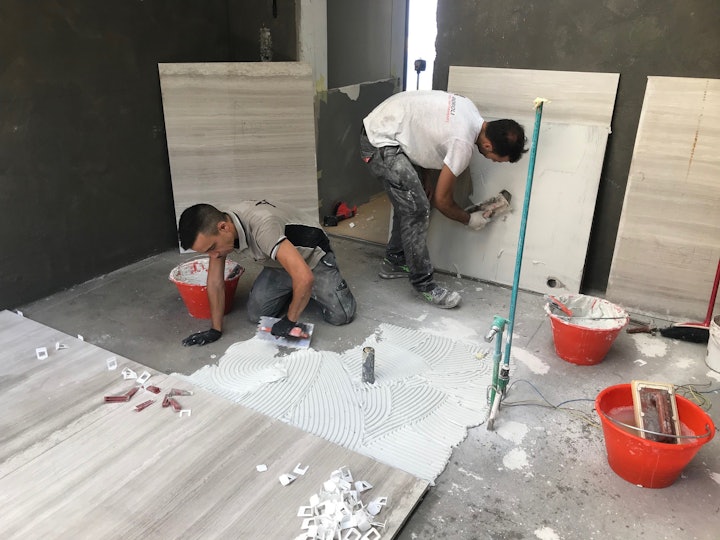
Before opening up their toolbox and getting down to work when they arrive at a work site, our master tilers first inspect the space they are going to be working in and check it against the layout plan provided by the interior designer. They then identify their starting point and take a close look at the tiles to ensure the dimensions, material and quantities are correct.
Although these preliminary actions may seem obvious, they are occasionally skipped and this means that any discrepancy or error relating to measurements and ordering material are only identified once tiling is under way when it becomes more difficult – and expensive – to correct mistakes.
The starting point is particularly relevant because it sets the stage for the final result and helps avoid unnecessary cuts, oddly shaped first or last rows and problems with surfaces that are not perfectly square.
The 6 rules of a perfect floor surface
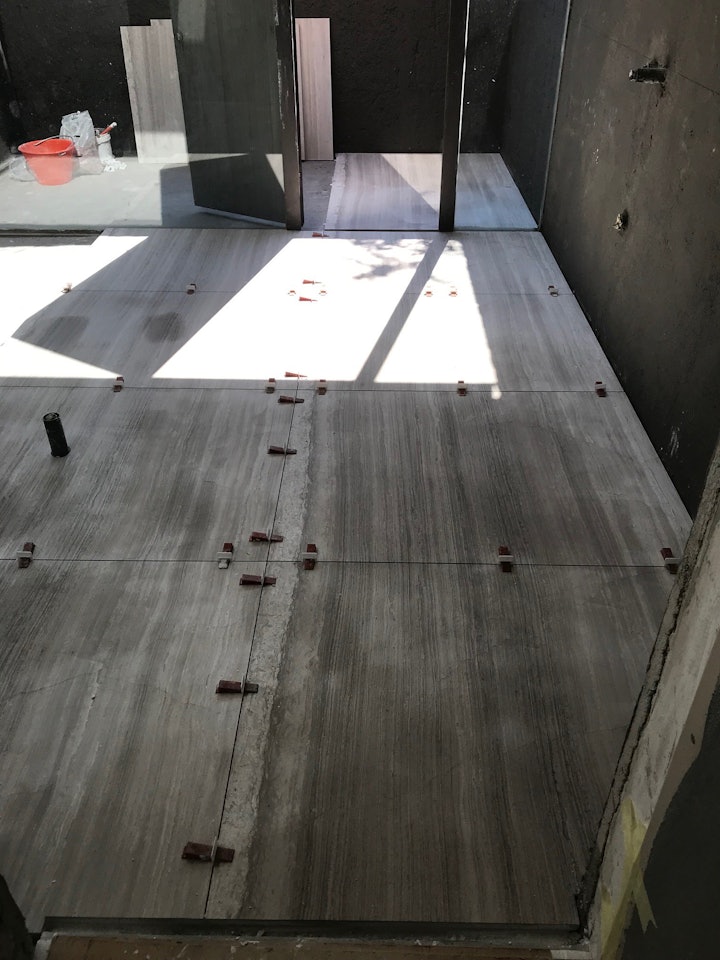
Once this step is complete, the next thing to do is check the state of the floor and walls, ensuring they are clean, dry and perfectly level. If you are preparing a mortar bed or concrete subfloor, it should meet the following 6 criteria:
Is it flush and completely level? Use a straight edge (or screed level) with a minimum length of 2 metres to smooth out the concrete in all directions. Any minimal discrepancy will be able to be corrected later with glue.
Smooth: you are looking to achieve a surface that is slightly rough but uniform, with no cracks or clots that could hamper the glue’s adhesive properties.
Clean: the surface must be perfectly clean and free from dust and any minuscule debris or detritus that could compromise tile adhesion.
Compact: any layers or hollow areas could cause the tile floor that is about to be laid to break or lift. It can often happen that a fracture in the mortar bed eventually makes its way upwards and causes tiles to crack over time.
Set: drying times vary depending on the type of materials used to create the mortar bed, but there are premixes and specific products that set significantly faster than the traditional sand and cement method.
In a dry environment: damp conditions do not help with the various phases of tile laying, so take the necessary steps to dry out the space.
